Hyundai Tucson: SRSCM / Passive Occupant Detection System (PODS) Repair procedures
| Removal |
| 1. |
Disconnect the battery negative cable, and wait for at least three minutes before beginning work. |
| 2. |
Remove the front passenger seat assembly. (Refer to the Body group- Seat) |
| 3. |
Remove the seat cushion as an assembly. (Refer to the Body group- Seat)
|
| Installation |
| 1. |
Install the PODS equipped seat cushion assembly. (Refer to the Body group- Seat) |
| 2. |
Install the front passenger seat assembly.
(Refer to the Body group - seat) |
| 3. |
Reconnect the battery negative cable. |
| 4. |
After installing the PODS, confirm proper system operation :
Telltale lamp will turn on for 4 seconds and be turned off
for 3 seconds. After the 7 seconds, it shall remain off if the PODS does
not require suppression and the passenger airbag is enabled.
|
| PODS Re-zero procedure |
| 1. |
Ignition “OFF”, connect GDS. |
| 2. |
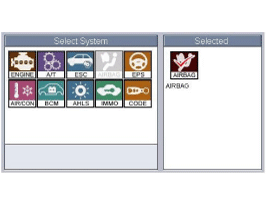
Ignition “ON” & Engine “OFF”, select Airbag system and “PODS Reset” mode.
|
| 3. |
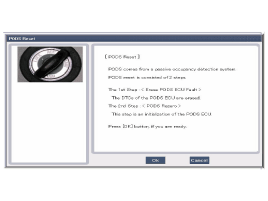
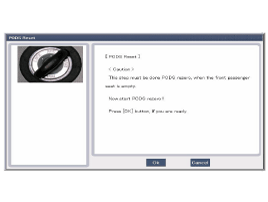
The GDS will show the two PODS RESET function steps.
|
| 4. |
Press the OK button to erase the PODS related diagnostic codes.
|
| 5. |
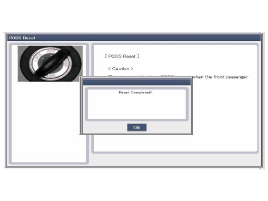
Press OK button to initialize the PODS.
|
| 6. |
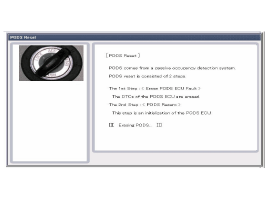
The PODS initialization procedure will be performed.
|
| 7. |
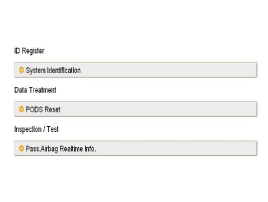
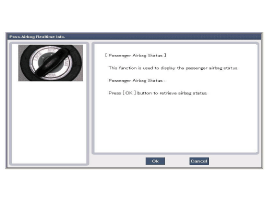
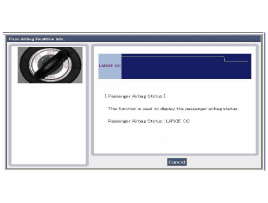
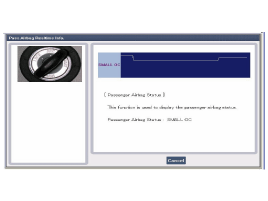
Check PODS situation with selecting " Pass. Airbag Realtime Info" after performing PODS Reset procedure.
|
| 8. |
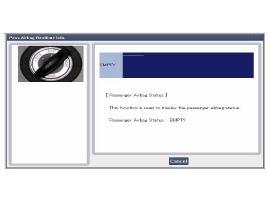
Perform inspection with pressing OK button.
|
| 9. |
Finish the procedure with pressing cancel button if there is no problem after inspecting each status as below.
|
 Passive Occupant Detection System (PODS) Components and Components Location
Components
1. Sensor mat2. PODS Uint
...
 Schematic Diagrams
Circuit Diagram (1)
Circuit Diagram (2)
Harness Connector
Pin Function (Connector A)Pin Function (Connector A)1Ignition1Pressure side impact sensor [Driver] High2 -2Side impact ...
Other information:
Hyundai Tucson (LM) 2010-2015 Owners Manual: How does the air bags system operate?
The SRS consists of the following components:
1. Driver's front air bag module
2. Passenger's front air bag module
3. Side impact air bag modules
4. Curtain air bag modules
5. Retractor pre-tensioner assemblies
6. Air bag warning light
7. SRS control module (SRSCM)/ Rollover sensor
8. Fron ...
Hyundai Tucson (LM) 2010-2015 Owners Manual: Tires and wheels
✽ NOTICE
It is permissible to add 3psi (21 kPa) to the standard tire pressure specification
if colder temperatures are expected soon. Tires typically loose 1psi for every 12°F
(-11°C) temperature drop. If extreme temperature variations are expected, re-check
your tire pressure as necess ...


